Article /
Setting Up an Image Host with Cloudflare R2 + PicGo
A low-cost personal image hosting setup with Cloudflare R2, PicGo, and a custom domain
A personal image host does not need a separately maintained backend. Cloudflare R2 + PicGo can be kept long term on Cloudflare's free plan.
I. Where It Fits
R2 works well for personal blogs, documentation sites, and low-frequency asset uploads. It is not a good fit for cases that require complex image processing, fine-grained access control, or multi-user approval workflows.
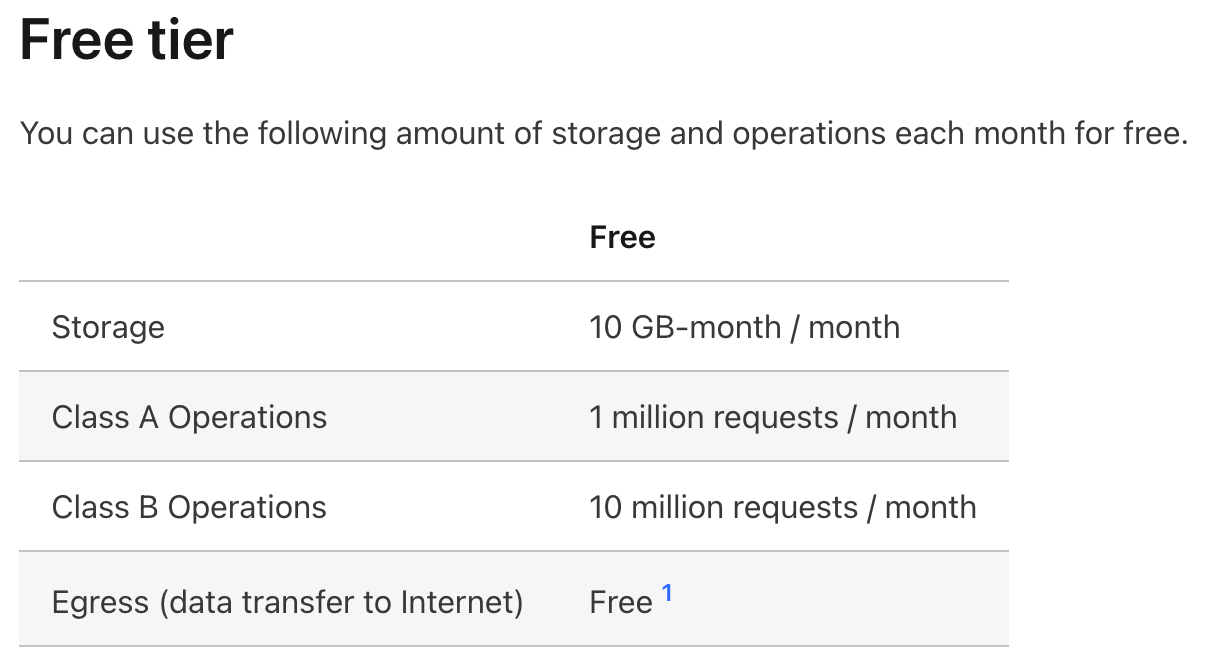
The free plan includes 10GB per month, which is usually enough for a personal image host. If the core requirement is simply stable hosting for static images, this kind of low-maintenance option should come first.
II. Bucket and Access Domain
- Open the Cloudflare dashboard and go to
R2 -> Create bucket - Enter a bucket name and create it
- Open the bucket, then go to
Settings -> Add custom domain - Enter the custom domain and confirm, letting Cloudflare generate the corresponding DNS record automatically
- Manually upload one file first to verify that the bucket can read and write normally
PicGo integration only matters when both conditions hold: the bucket is writable and the domain is readable. Otherwise, every upload test afterward is only a false success.
III. API Permissions
Path: R2 -> Account Details -> Manage API Tokens -> Create token
- Set token permission to
Object Read & Write - Set scope to
Apply to specific bucket only - After creation, keep the following values safe
Access Key IDSecret Access Key
An image-hosting setup should keep permissions scoped down. Binding the token only to the target bucket makes later troubleshooting and migration cleaner.
IV. Connect PicGo to R2
- Download and install PicGo
- Install the
S3plugin from the PicGo plugin marketplace - Open
PicGo -> Image Hosting Settings -> Amazon S3and create a new config
Parameter mapping:
| PicGo Field | Value |
|---|---|
| Access Key ID | R2 Access Key ID |
| Secret Access Key | R2 Secret Access Key |
| Bucket | The bucket name shown in R2 |
| File Path | {year}/{month}/{fileName}.{extName} |
| Custom Endpoint | The S3 endpoint shown on the R2 page |
| Reject Unauthorized TLS | yes |
| ACL | public-read |
PicGo is only the uploader. It does not correct configuration on the R2 side. If the bucket name, Endpoint, or custom domain does not match, check the Cloudflare settings and fix them there.
V. Minimum Verification
- Select an image in PicGo and upload it
- Confirm the file appears in the corresponding Cloudflare R2 bucket
- Copy the uploaded link from PicGo and open it directly
- Reference the image once in an article or page and confirm the external link loads correctly
This setup is meant to stay low-cost, low-maintenance, and portable. It makes full use of the Cloudflare R2 free plan and is well suited to a personal blog.